A common concern that arises during the finish flooring installation over the Warmboard radiant panels, is accidentally puncturing the radiant tubing embedded in the panels. A tubing hit can lead to project delays and necessitate tubing repairs, which are typically fixed with a coupling. Fortunately, with a bit of care and the right techniques, you can easily avoid this mishap.
Here’s how to ensure a smooth, damage-free flooring installation over your Warmboard heating system:
- Protect the Panels During Work
Accidents happen, even when you’re careful.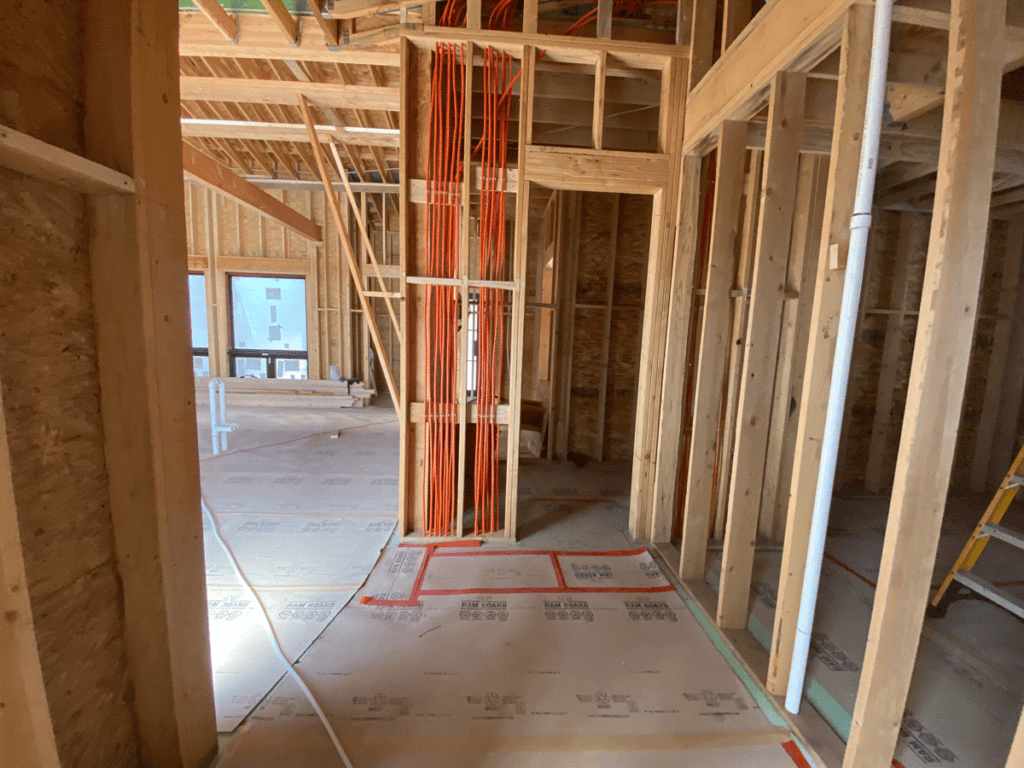 Cover with RAM Board: Once the Warmboard panels and tubing are installed, consider covering the assembly with RAM Board or a similar protective material to provide a durable barrier against dropped tools, errant nails, and general construction traffic that could risk damaging the tubing.
- Keep It Tidy: Keeping your job site clean is essential. Regular use of a shop vac and broom prevents small pieces of debris, stray nails, or fasteners from hiding on the floor, which could otherwise cause damage or lead to a misstep during installation.
- Go Slow and Be Deliberate
Rushing leads to mistakes. When installing flooring over Warmboard, take a little extra time and be methodical. A few extra moments spent confirming fastener placement can save you hours (and dollars) of remediation later. - Fasten Wisely
This is arguably the most critical step for any nailed or screwed-down flooring.- Visual Inspection:
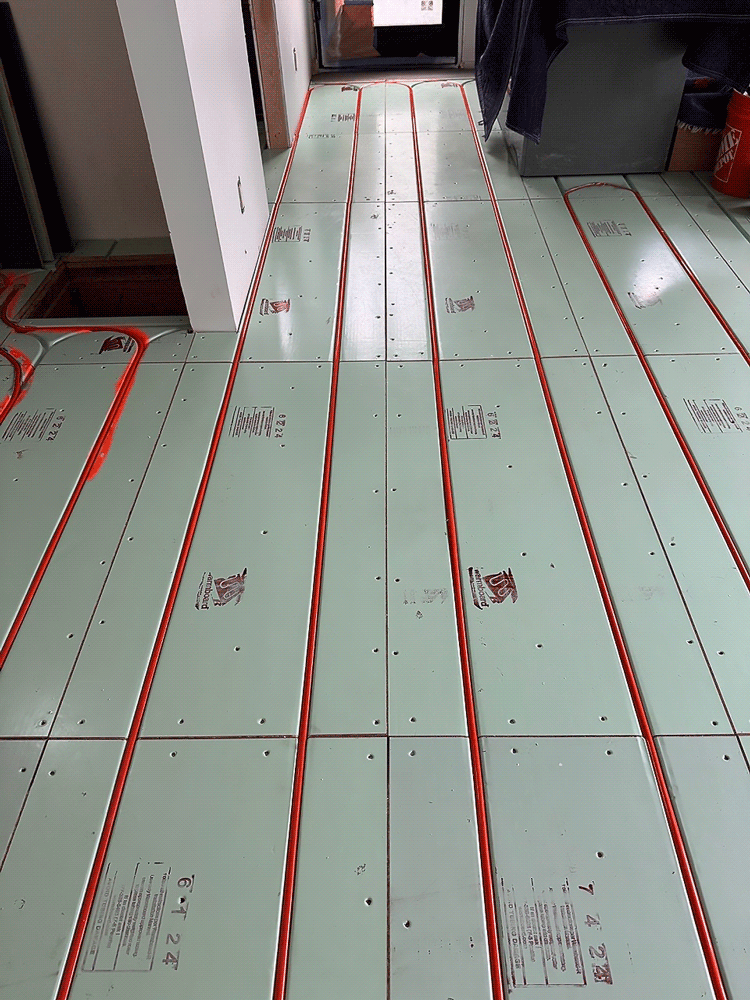
While it should seem obvious, especially when on site, for the vast majority of the flooring installation, the tubing will be visible. We recommend placing fasteners about 3 inches from the tubing, for extra caution. - Hardwood Direction:
In most instances, hardwood is installed perpendicular to the tubing pattern, so the tubing will visible the vast majority of the time. Should the hardwood install parallel to the tubing, extra care should be given. If the edge of a board lines up too closely to the tubing, glue this panel only. Watch our hardwood installation video for more information. - Stencil Method:
Using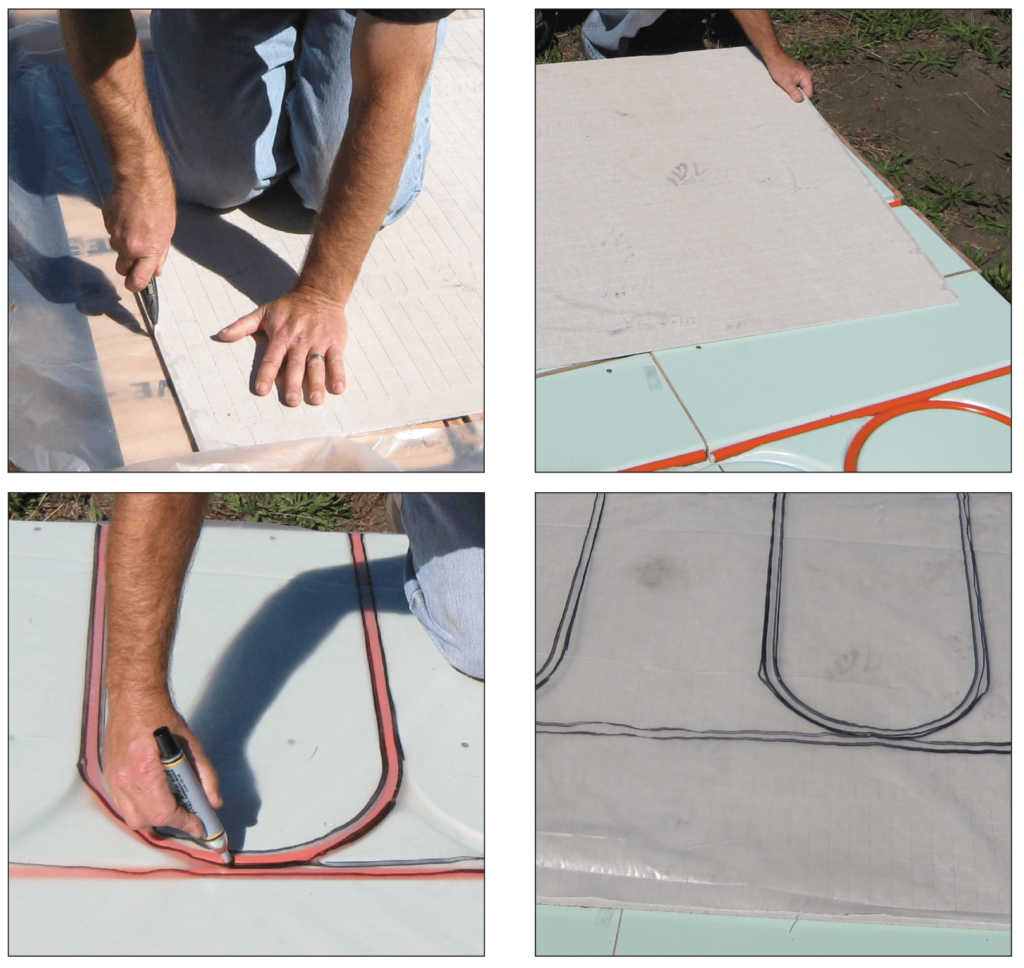
 a stencil can be a great method when fastening over Warmboard, especially tile with backerboard. The process involves creating a quick tracing of the tubing layout, placing down the backerboard, then placing the stencil down over top to accurately show the safest places to fasten. This method also works well with other flooring materials that require an underlayment. See our install guide.
- Visual Inspection:
- Maintenance Check: Pressure Test Your System

 It is crucial to maintain pressure in your Warmboard system during construction of the home. These details are precisely outlined in the Warmboard panel installation guide, and involves the following:
- Removing the 1″ ball valves from your manifolds to expose the 1″ BSPP fittings.
- Securely inserting the pressure gauge and end cap onto the manifold, ensuring the gasket is correctly positioned between the lock nut and the manifold.
- Air testing to a mechanical code requirement of 100 PSI for 15 minutes.
- Maintaining the tubing and manifolds under 60 PSI for the remainder of the construction process. (Note: A slight initial pressure drop of 5-10% is normal as the air settles.)
- If you notice a drop in air pressure, you may have a tubing hit. Check the site now before proceeding with further flooring install.
Understand the Tubing Layout
After the flooring is installed, there may be a need to cut or penetrate the flooring. Should this need arise, there are a couple options.
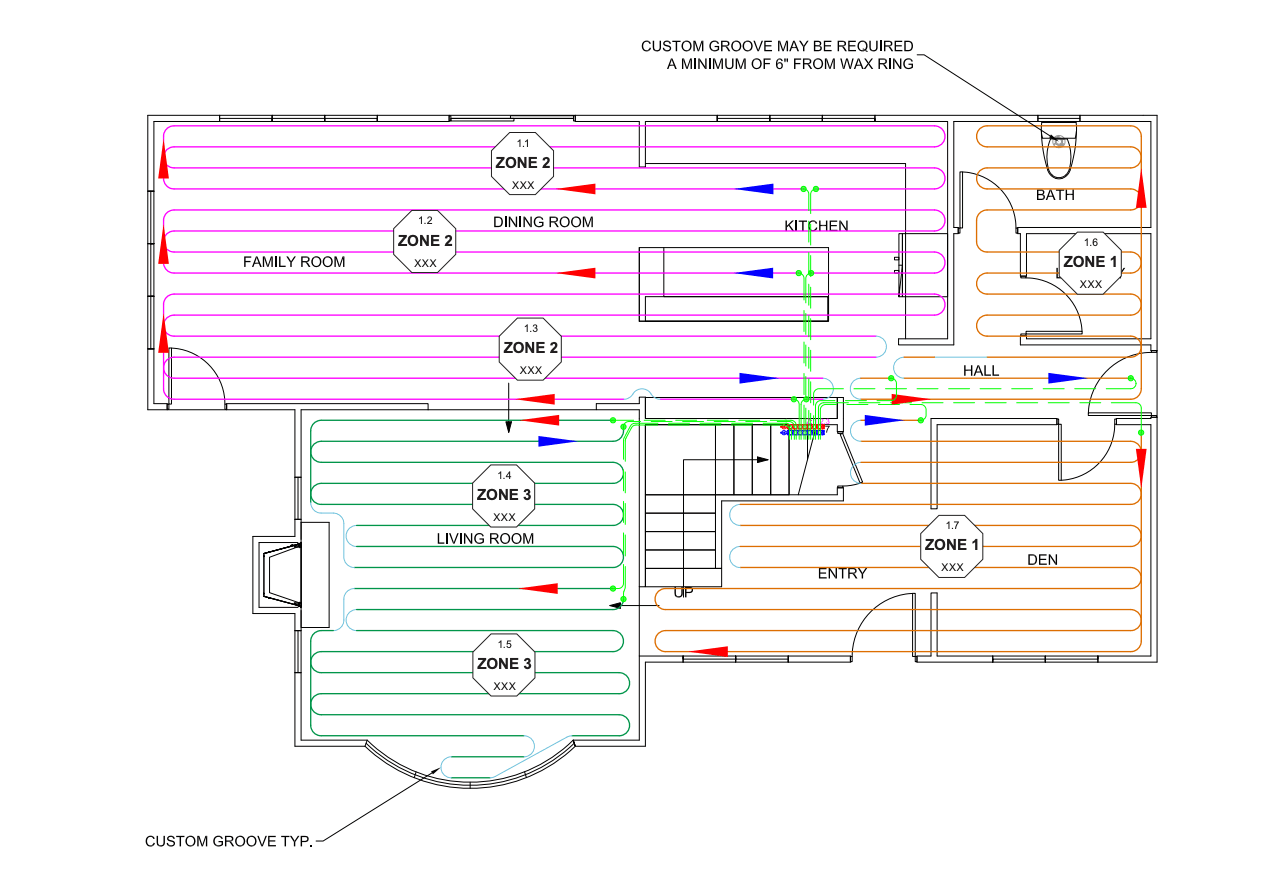

- Review your Warmboard plan set: This document which features detailed diagrams, shows the precise layout of the PEX tubing within your panels. Pay close attention to the serpentine or spiral patterns. Understanding where the tubes run is your primary defense against hitting them.
- Leverage Technology: Use of a thermographic camera can be invaluable for locating tubing loops. These cameras will detect the heat signature of the water in the PEX tubing beneath the finish flooring, allowing you to see the tubing paths and avoid them. Simply operate the system and within a few moments the tubing paths will become clear.
By following these simple yet effective guidelines, you can ensure a smooth and worry-free Warmboard panel installation, protecting your radiant heating system and ensuring optimal performance for years to come.
Related blog posts: